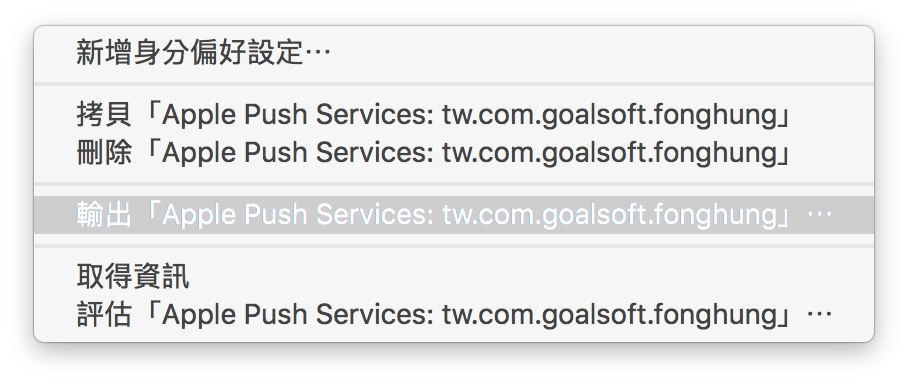
=========前置作業==========
0 .製作一個 PEM file
你要有下列三個檔案
。The CSR
。The private key as a p12 file (PushChatKey.p12)
。The SSL certificate, aps_developer_identity.cer
1. 準備好你的CSR (Certificate Signing Request)
CertificateSigningRequest.certSigningRequest
檔案(存在\Dropbox\iPhone相關\Certificates_for_push\AdvClock)
2. 在mac上打開keychain並找到目前使用中的CSR,按一右鍵。
匯出一個 .p12的檔案(apns.p12)

3. 到iOS Developer Center, iOS Provisioning Portal
建立一個新的app ID, 之後在"Apple Push Notification service" 中
"Configurable for Development"(開發用) and "Configurable for Production"(上架用)
按下Configure的按鈕後,選擇相同的CSR檔案來產生並下載 "aps_developer_identity.cer"檔案。
4. 用.cer 來產生 .pem
$ openssl x509 -in aps_developer_identity.cer -inform der -out apns-cert.pem
5. 用.p12 來產生 .pem
$ openssl pkcs12 -nocerts -out apns-key.pem -in apns.p12
Enter Import Password: <= 輸入匯入密碼(產生時所使用的密碼)
MAC verified OK
Enter PEM pass phrase: <= 輸入使用密碼(新的密碼)
Verifying - Enter PEM pass phrase: <= 再次輸入
6. 將二個.pem整合成一個檔案
$ cat apns-cert.pem apns-key.pem > ck.pem

